Step-by-Step Node.js Installation on Windows
What is Node.js?
Node.js is an open-source, cross-platform JavaScript runtime environment that allows developers to run JavaScript code outside of a web browser. It is built on Google Chrome’s V8 JavaScript engine, making it fast and efficient.
With Node.js, you can:
- Build server-side applications (like APIs, web servers, and backends).
- Handle asynchronous I/O operations efficiently (ideal for real-time apps like chat applications).
- Use JavaScript for both frontend and backend development, enabling full-stack development with a single language.
What is npm?
npm stands for Node Package Manager. It is the default package manager that comes with Node.js.
With npm, developers can:
- Install, update, and manage packages (libraries, frameworks, tools) for Node.js projects.
- Access a massive ecosystem of reusable JavaScript modules from the npm registry (the world’s largest software registry).
- Share and publish their own packages for others to use.
In short:
- Node.js = The runtime that executes JavaScript on the server.
- npm = The package manager that helps you install and manage third-party libraries for Node.js projects.
1. Verify if Node.js is Already Installed
1. Press the Windows key and search for Command Prompt.
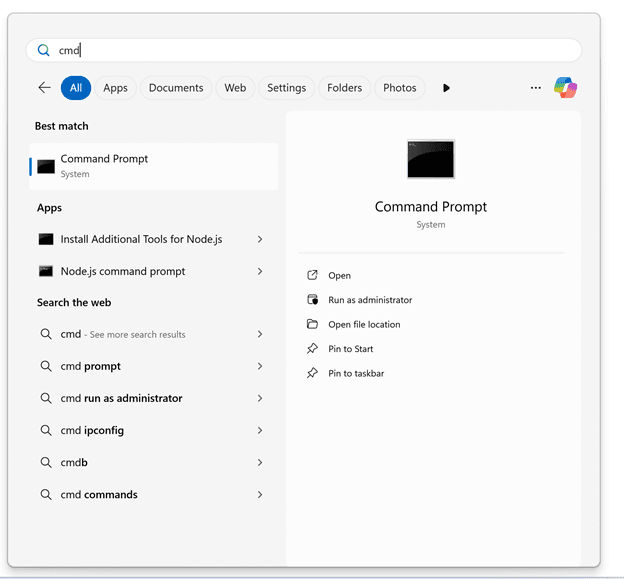
2. Open the Command Prompt application.
Type the following command to check the installed Node.js version:
node -vIf Node.js is installed, the version number will be displayed.
To check npm (Node Package Manager), type:
npm -vIf npm is installed, its version number will also be displayed.
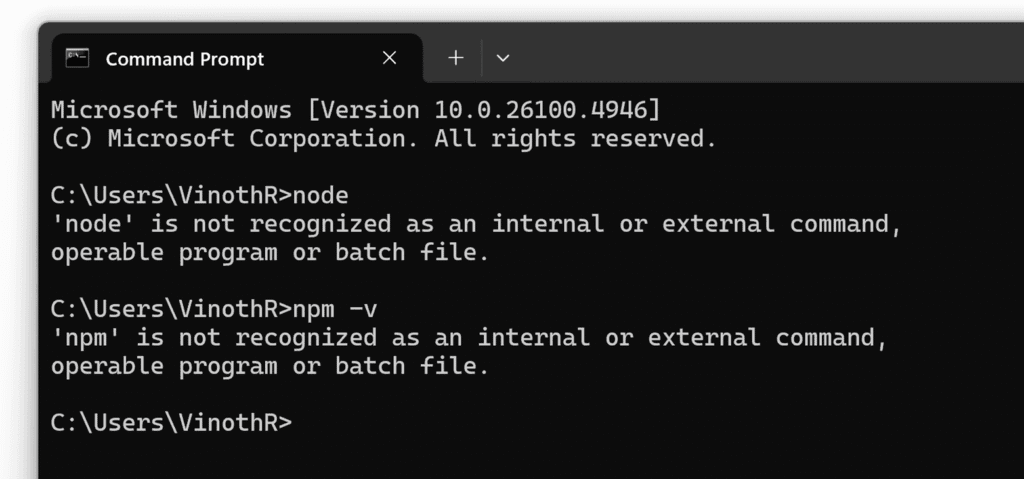
👉 If both commands return version numbers, Node.js and npm are already installed, and you can skip the installation steps. If you see an error message like the one shown in the image above, then follow the steps below.
2. Install Node.js (if not already installed)
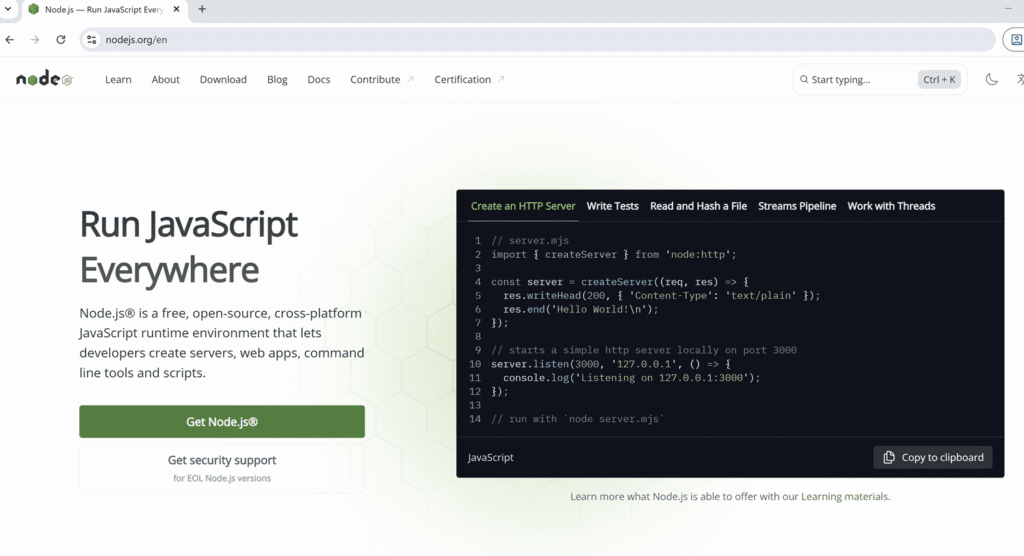
1. Navigate to the official Node.js website.
2. Open the Download section.
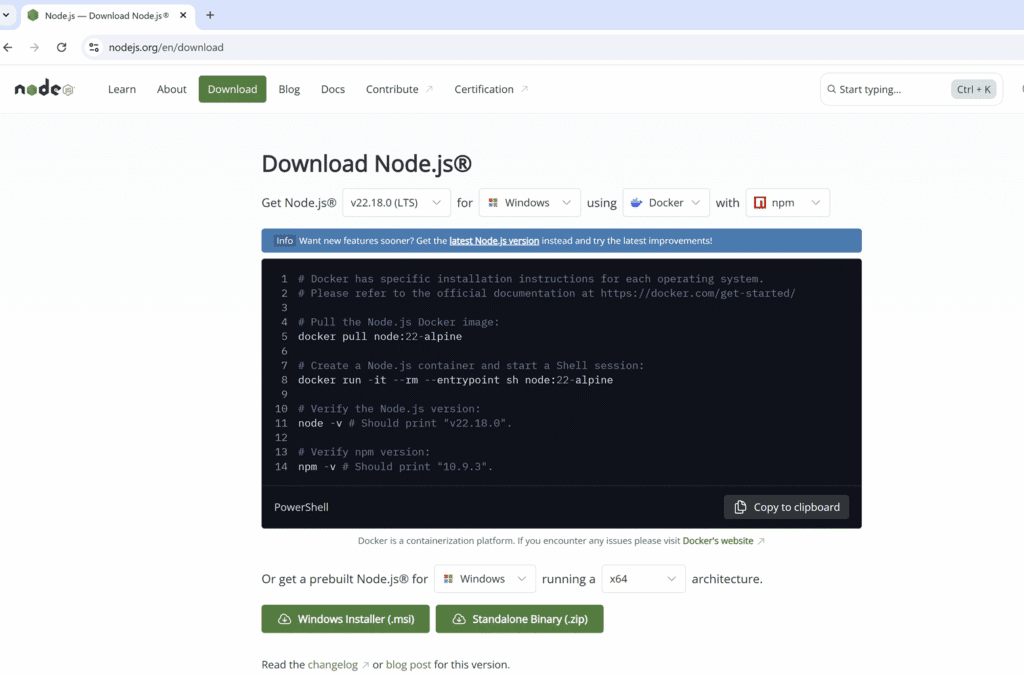
3. Select the appropriate Node.js installer package for your operating system and Click the Windows Installer (.msi) option to download the installer.

4. Save the installer file in a secure location on your system.
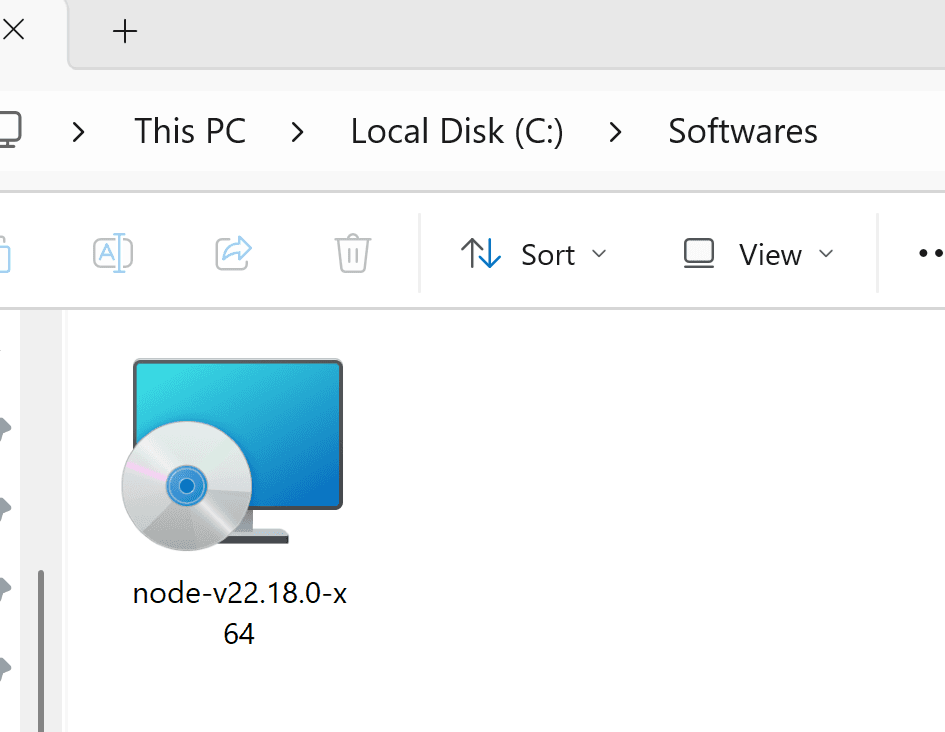
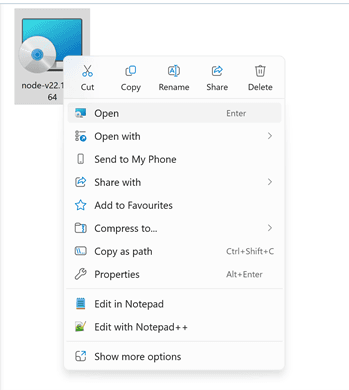
5. Right-click the downloaded file and select Open.
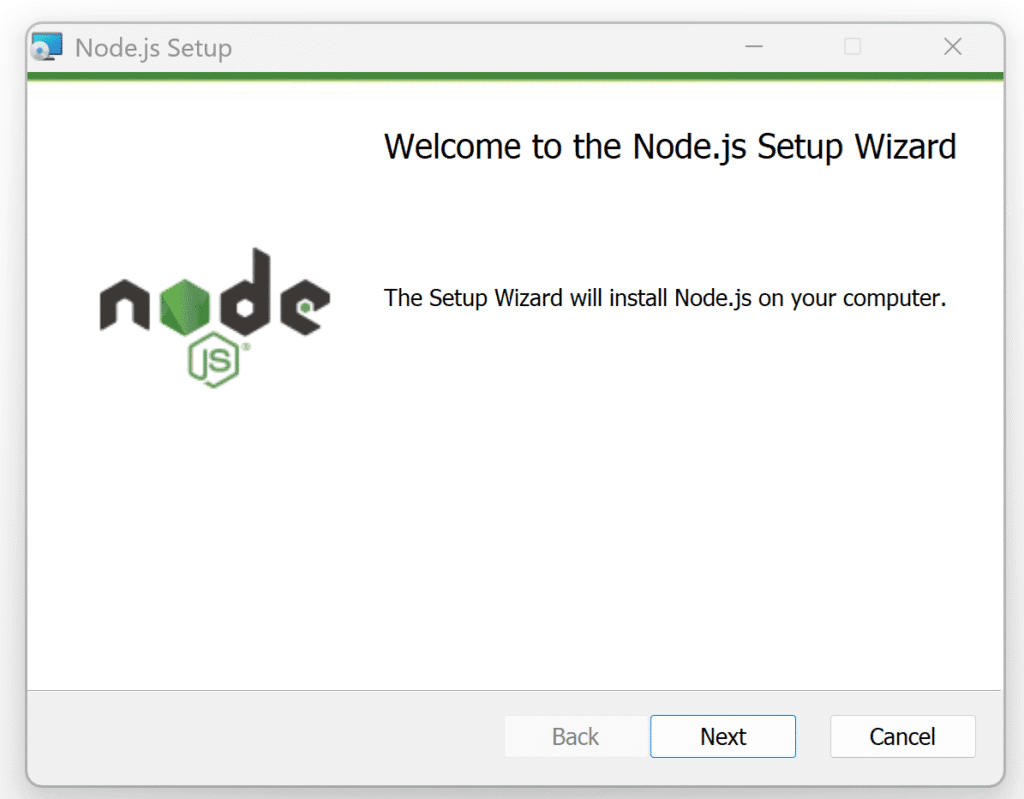
6. The Node.js Setup Wizard will launch. Click Next to proceed.
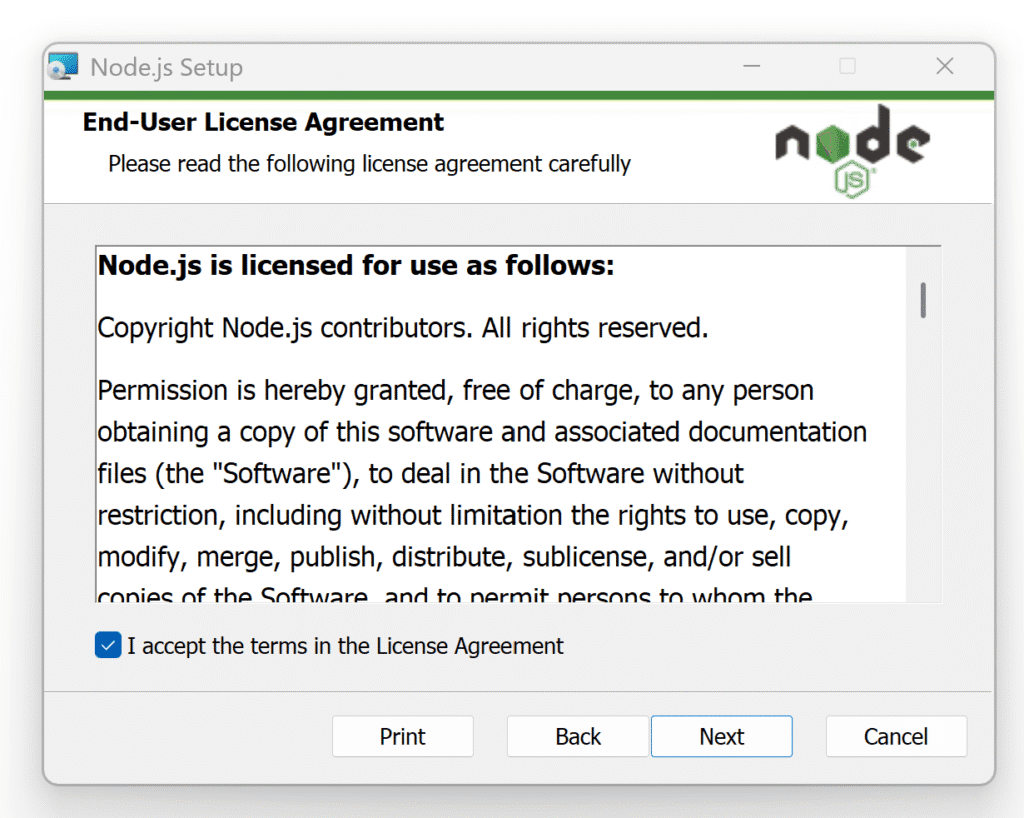
7. Read and accept the License Agreement by selecting the checkbox, then click Next.
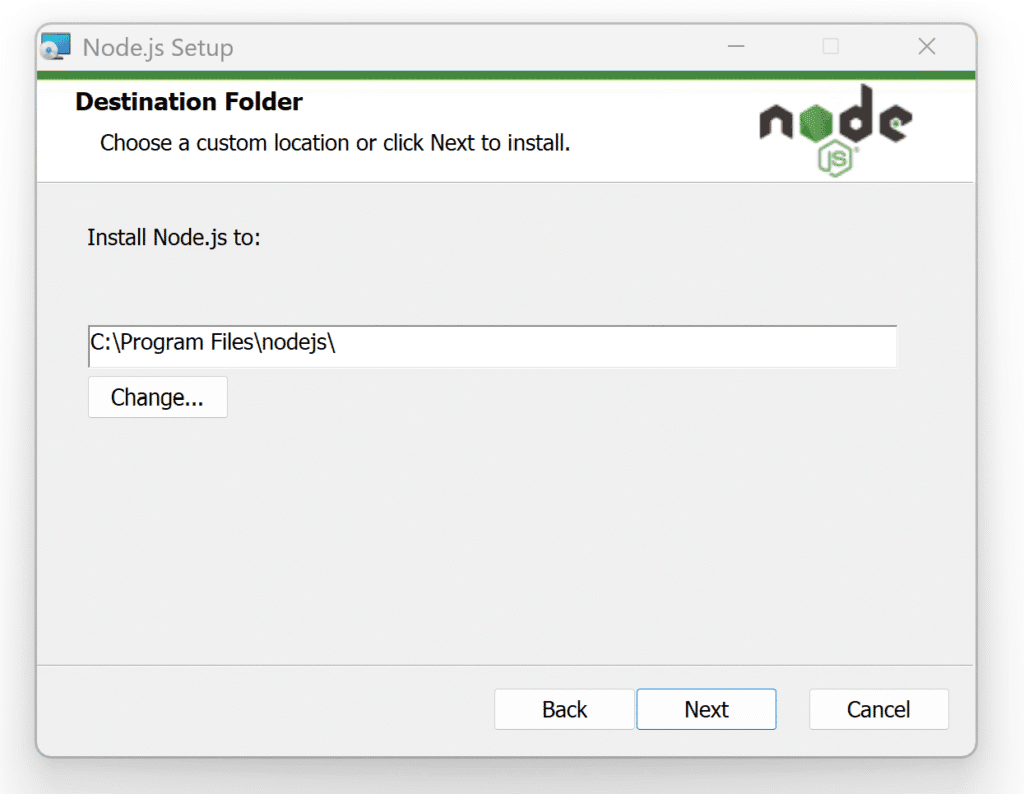
8. Choose the installation path (or keep the default) and click Next.
9. Accept the default component selection and click Next.

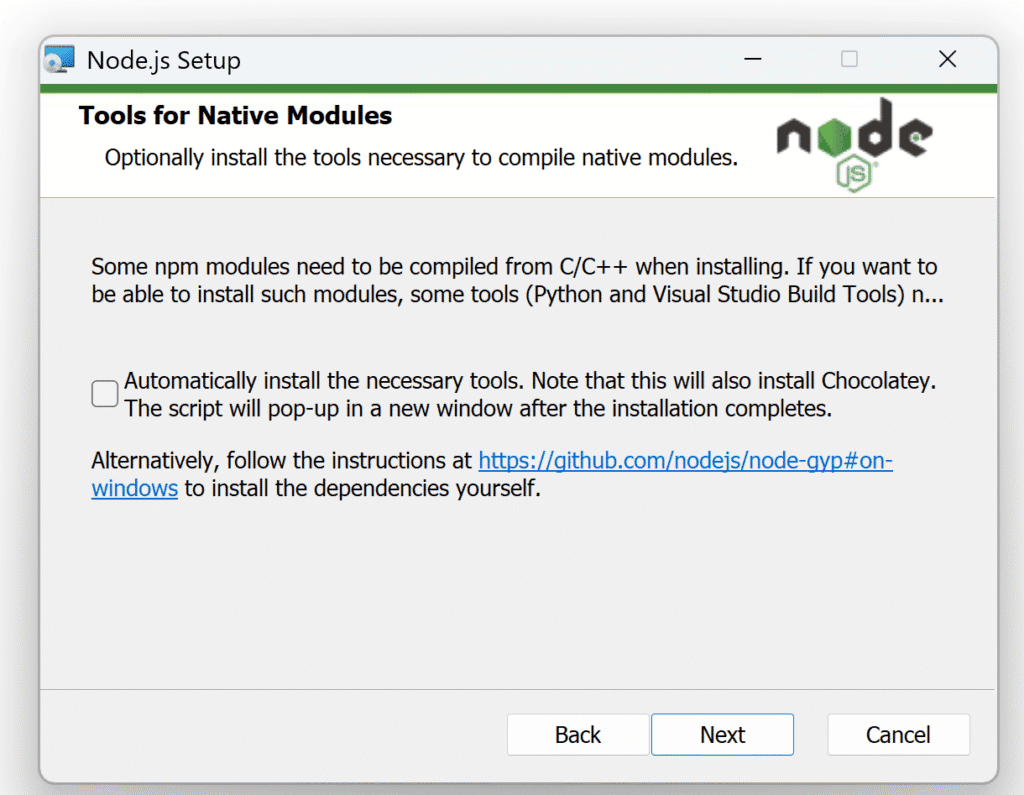
10. On the next screen, leave the optional checkbox unchecked, then click Next.
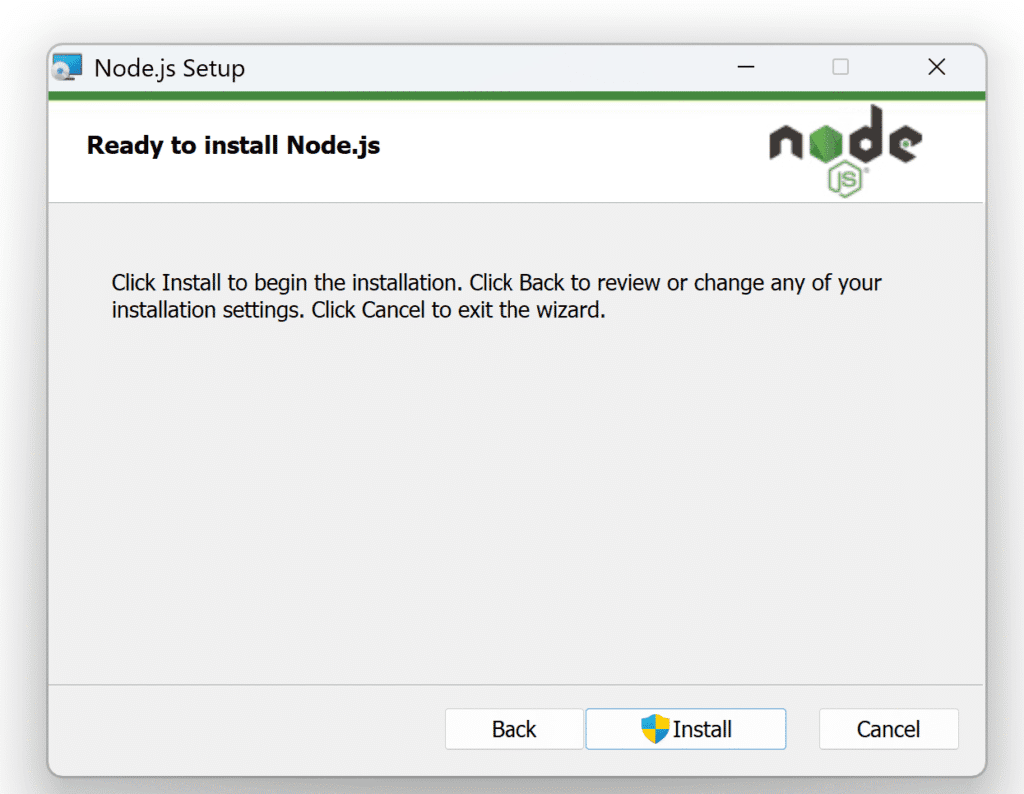
11. Click Install to begin the installation process.
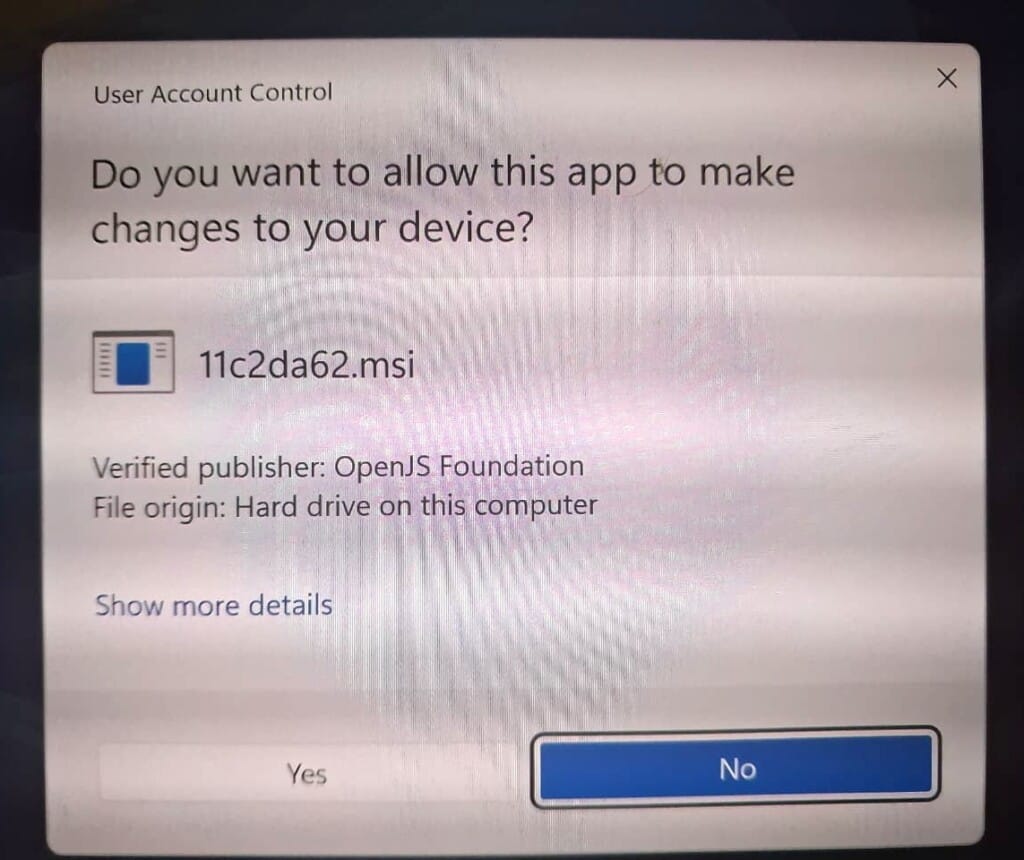
12. If prompted by Windows User Account Control (UAC), click Yes to allow the installation.
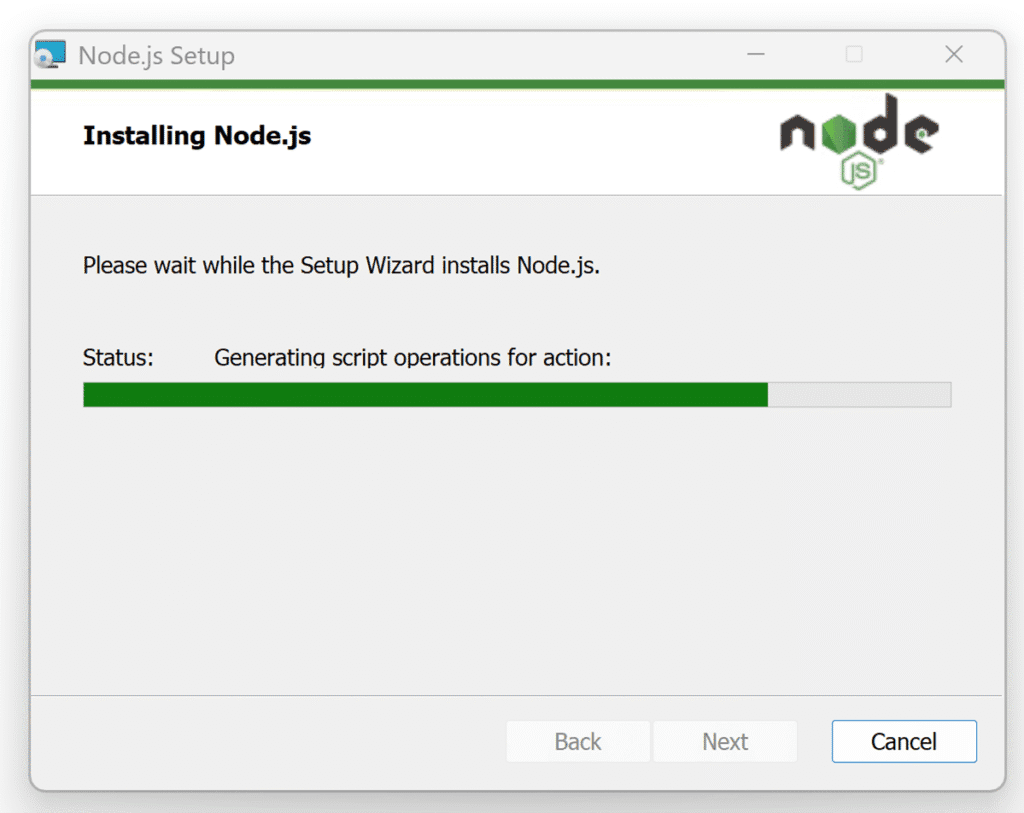
13. Wait for the installation to complete. The duration may vary depending on system configuration.
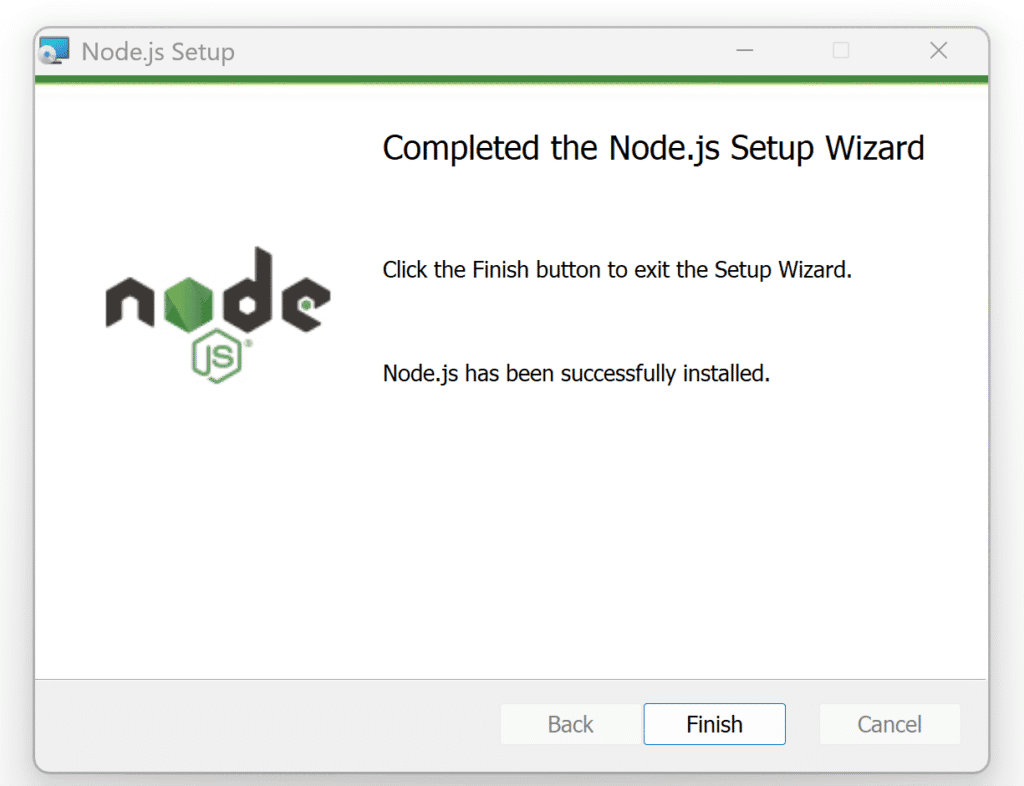
14. Once the setup is complete, click Finish to exit the Setup Wizard.
3. Verify the Installation
After completing the setup, confirm that Node.js and npm were installed correctly:
1. Press the Windows key and search for Command Prompt.
2. Open the Command Prompt application.
Type the following command to check the installed Node.js version:
node -vIf Node.js is installed, the version number will be displayed.
To check npm (Node Package Manager), type:
npm -vIf npm is installed, its version number will also be displayed.
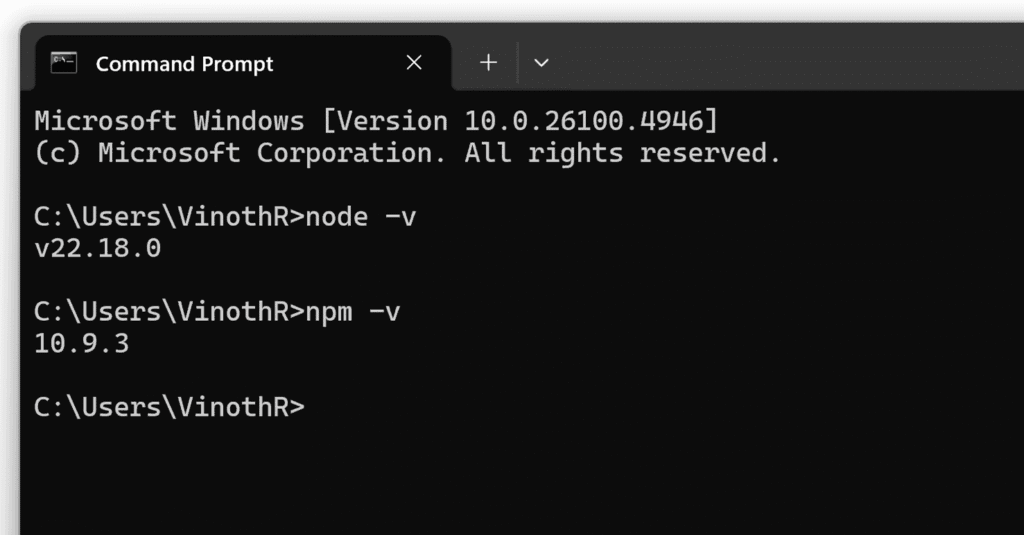
If both commands return version numbers, Node.js and npm have been installed successfully. 🎉


